NAB is upon us once again and with it comes a ton of announcements that reveal products and application updates we can expect to hit the market later this year. However, today a little surprise came. Not only did Adobe announce what we can expect for its various video apps, if you have a creative cloud subscription, you can download them right now too; including Premiere Pro. Rather than take you through all the new features in the application (Scott Simmons does a fantastic job of this on Pro Video Coalition) I’ll take you through 4 of the new features I absolutely love in the April release of Premiere Pro CC 2017.
- The Type Tool. When you first launch the new version of Premiere Pro, you’ll see that the toolbar has been revamped and with it comes a new Type Tool (a Vertical type tool too!)

By selecting it, you can type text directly in the Program Monitor and manipulate it’s properties in Effect Controls. You can also edit and add to your title in the Essential Graphics Panel but more on that in a bit.
What I love about the Title Tool is:
- a) It feels friendly when coming from a program like After Effects and Photoshop. The tool works very similarly in those programs.
- b) The title that appears in the timeline is it’s own separate instance. Anytime you copy and paste it, it will create a brand new title. This is the opposite of the old title tool. When you copied and pasted it, if you affected the copy, it would change the original.
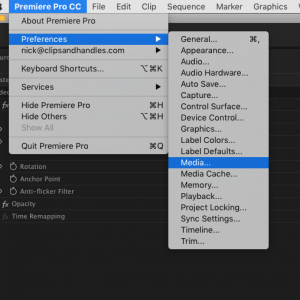
2) Setting a Preference for Media Scaling. This is a small change but huge for me as I work with a lot of stills that don’t always match the size of my sequence. Under preferences, in the media section, this is now a drop down option.
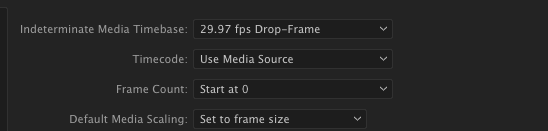
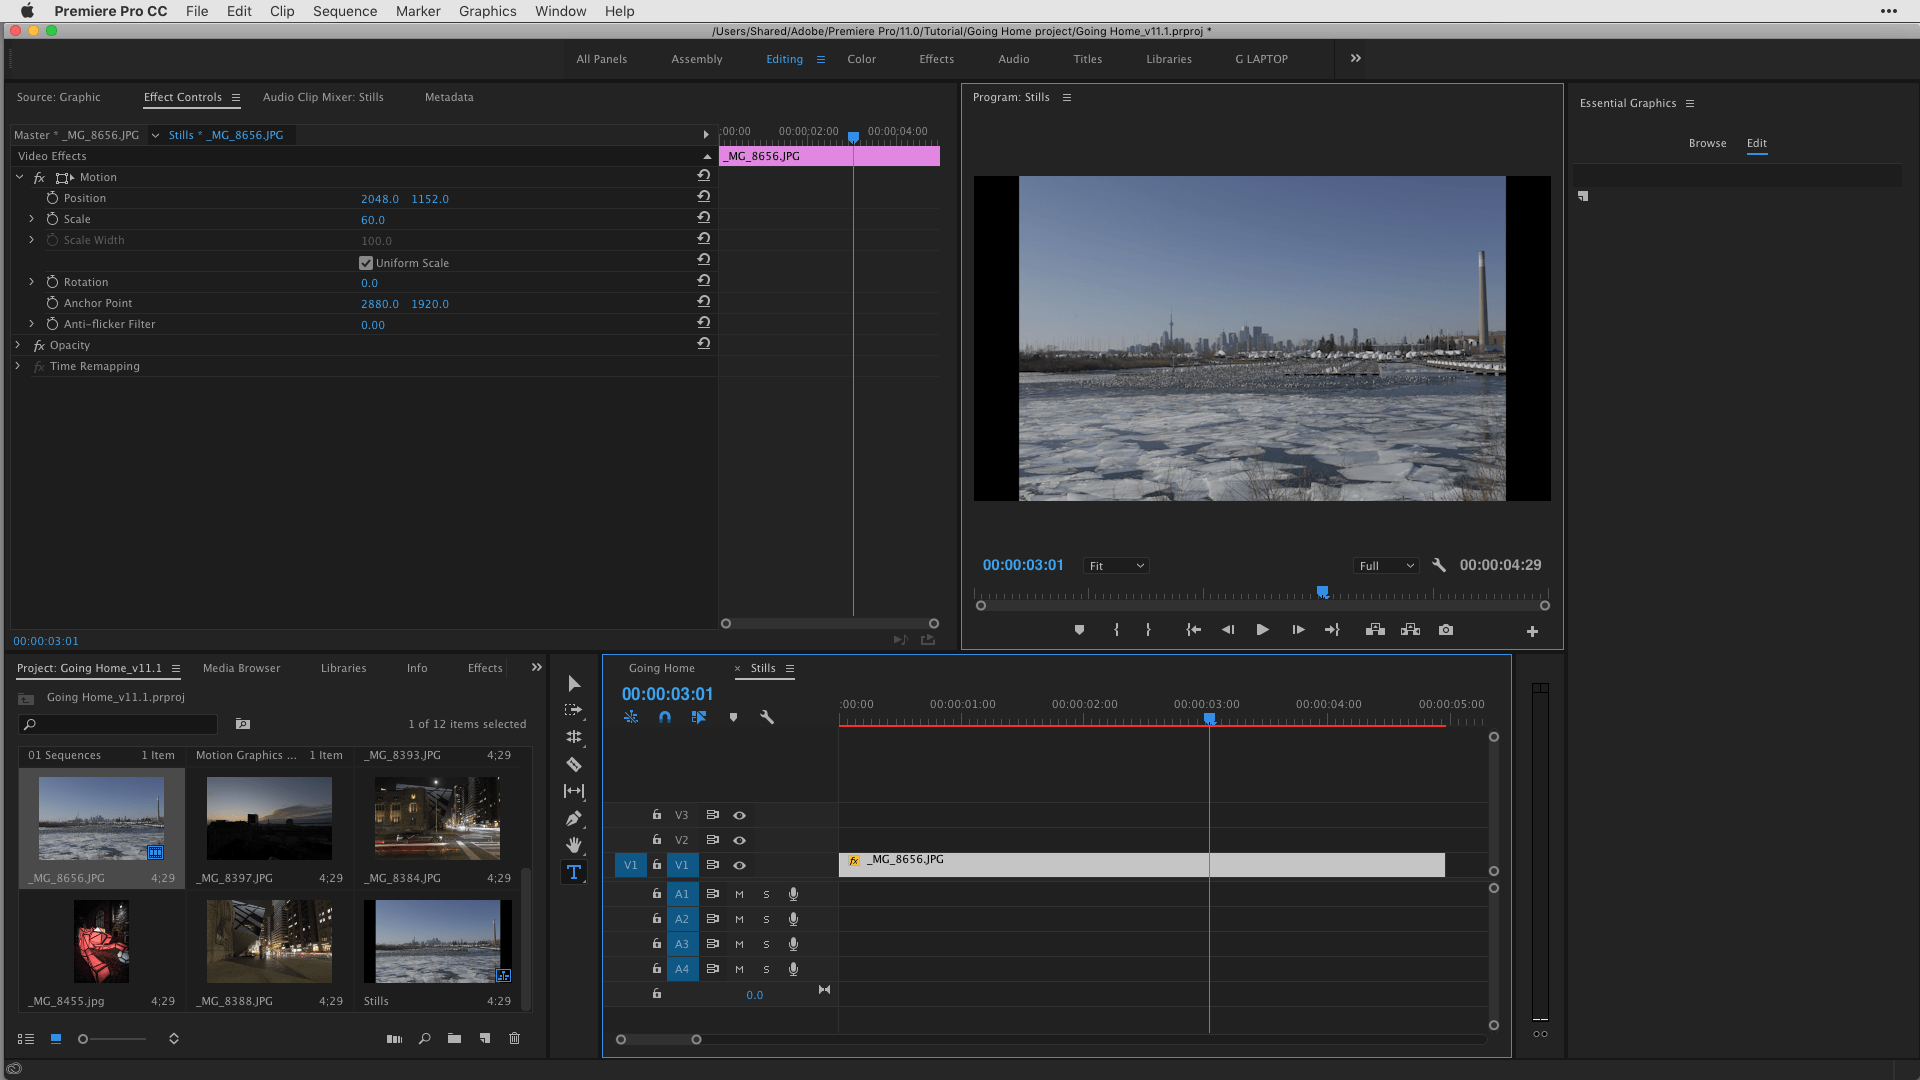
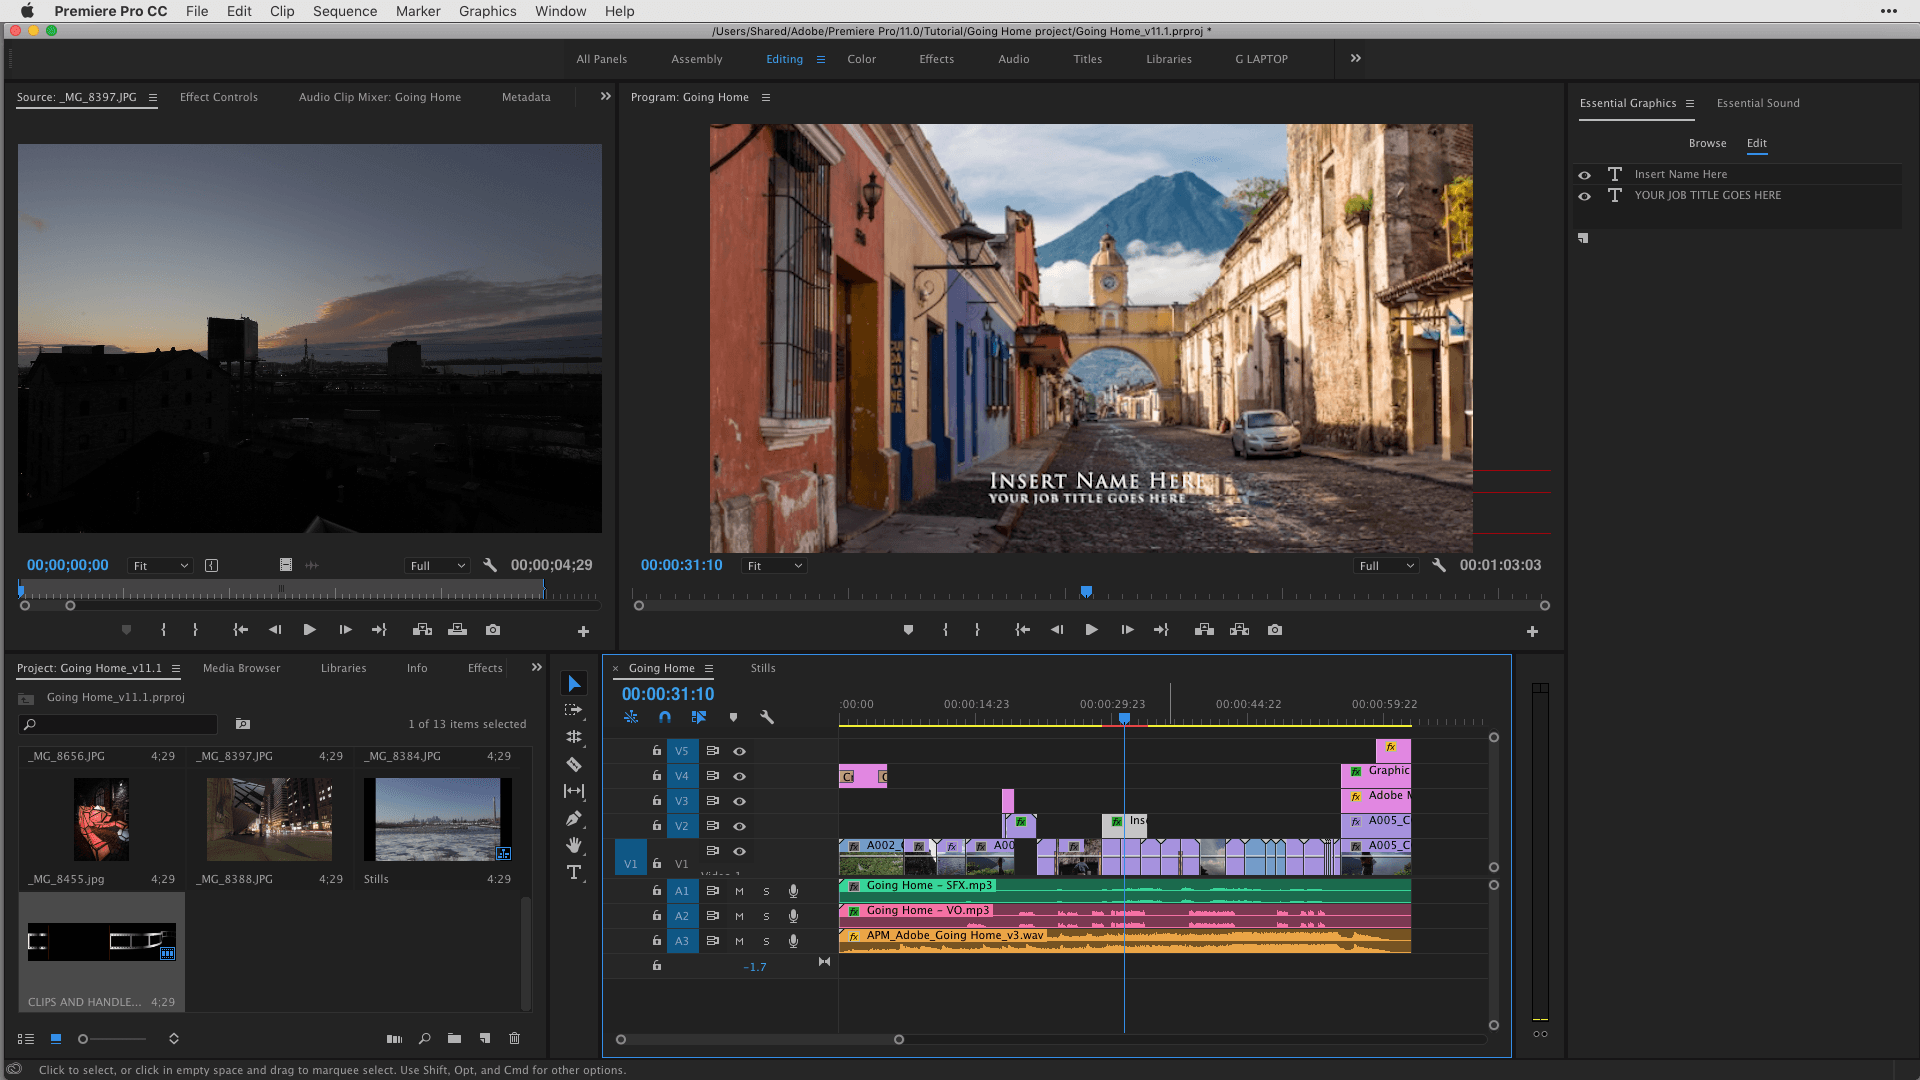
For this particular workflow, you’d want to choose Set To frame size for your stills. Basically, when you drop a still into a sequence that has different dimensions, it will set the frame size for you without affecting the stills quality. In the below example, I had a 1920 by 1080 sequence and dropped a still in the timeline with a 5760 by 3840 dimension. In the program monitor, the still appears to match the height of the sequence and if you look Under Effect Controls, you’ll see the scale’s value set to 60. This means I can still scale the clip up by quite a bit and I don’t have to manually scale my clip down as if the option were set to none.
For a more in depth explanation check out Colin Smith’s Video revealed page.
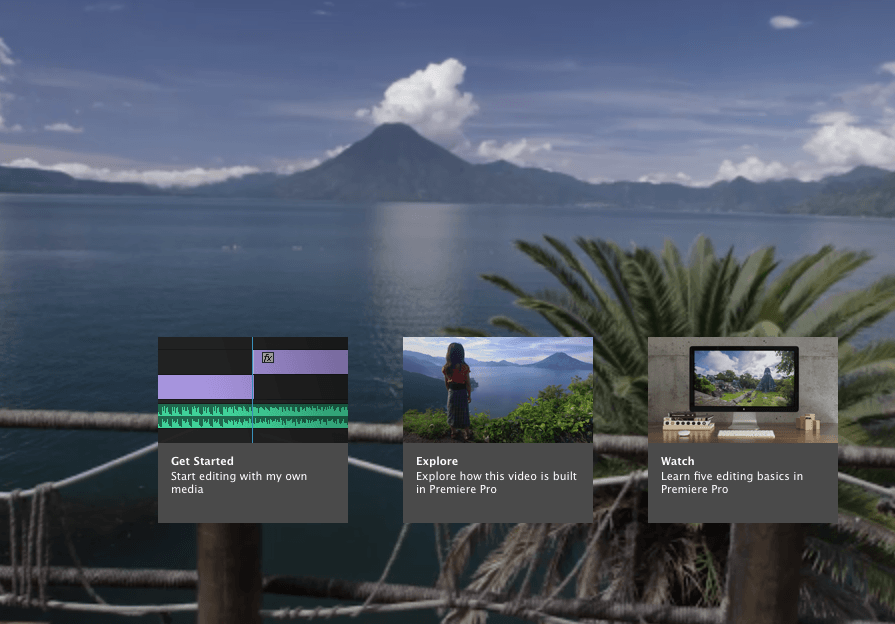
- The Essential Sound Panel – Let’s be honest, video editors are getting tasked with more and more stuff to do on a daily basis. Not only are we in charge of simply making video selects but assembling basic motion graphics packages as well as fine tuning audio with little time on our hands. This release features two essential panels for you to work with. One of those is the Essential Sound Panel that got taken from Audition. The Essential Sound Panel allows editors to work with sound in a much more intuitive way. Rather than apply sound effects and guess at what they are and what they do, now you can identify a type of audio in your project (ie: dialogue, music, ambience). Once you do the Essential sound Panel gives you access to a bunch of controls for that type of audio. In the below example, I opened up a Premiere Pro project that you can get from the new welcome screen under Explore If the welcome screen doesn’t come up when you launch Premiere go to Help – Welcome Screen
In the ‘Going Home’ sequence, there is a voice over on track A2. I soloed it and brought up the Essential Sound panel from the window menu. If you’ve ever used the Lumetri panel, you’re going to feel very much at home in the layout. With the voice over selected, I assigned it as dialogue.

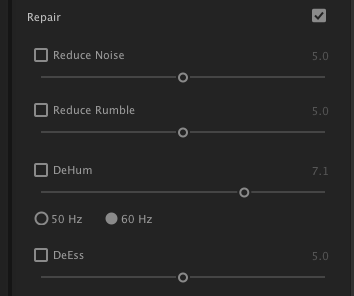
Once I did, I’m presented with options for fixing, enhancing and stylizing the audio. I can simply click on a section such as Repair and use simple slider controls to reduce noise, rumble and hum in the clip.
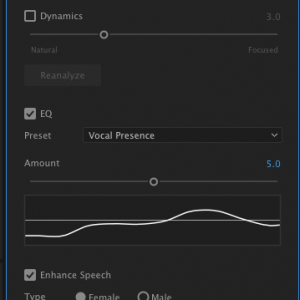
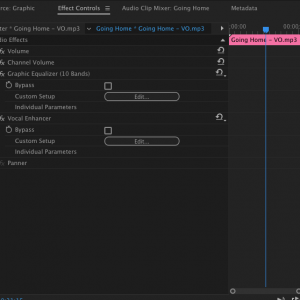
Since these problems did not exist, I went straight to the Clarity section where I enhanced the speech and EQ of the voice over.
This automatically adds effects to your selected clip(s). You can see the effects that were added under Effect Controls.
Lastly, the Essential Sound Panel works really fluently with Audition. All the changes you make to clips through it are easily adjustable when sending over files or sequences to audition.
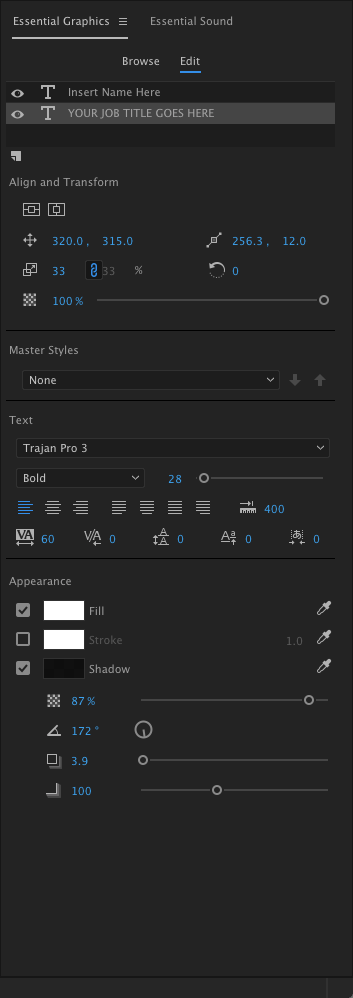
- Motion Graphics Templates in Premiere . Nothing says awesome like free content! Over the years, Premiere Pro has given you access to several templates with its Title Tool. The only problem is they were all static. With the Essential Graphics Panel comes a Browse section that allows you to choose from a variety of Motion Graphics templates you can add to your sequence by dropping it into your timeline.
Please note, some templates have fonts from typekit and you need to sync them onto your computer if they’re not installed. If your text shows in the 20db font, just realize it wasn’t a creative decision :-). With the template selected in the timeline, you can then adjust some of its properties in the Edit tab of the Essential Graphics panel.
While you might think to yourself, there’s not a lot of stuff here, I think this is just the beginning. As people become more and more familiar with what can be accomplished in After Effects to share to Premiere Pro users, the Browse section is going to become more and more populated in future releases.
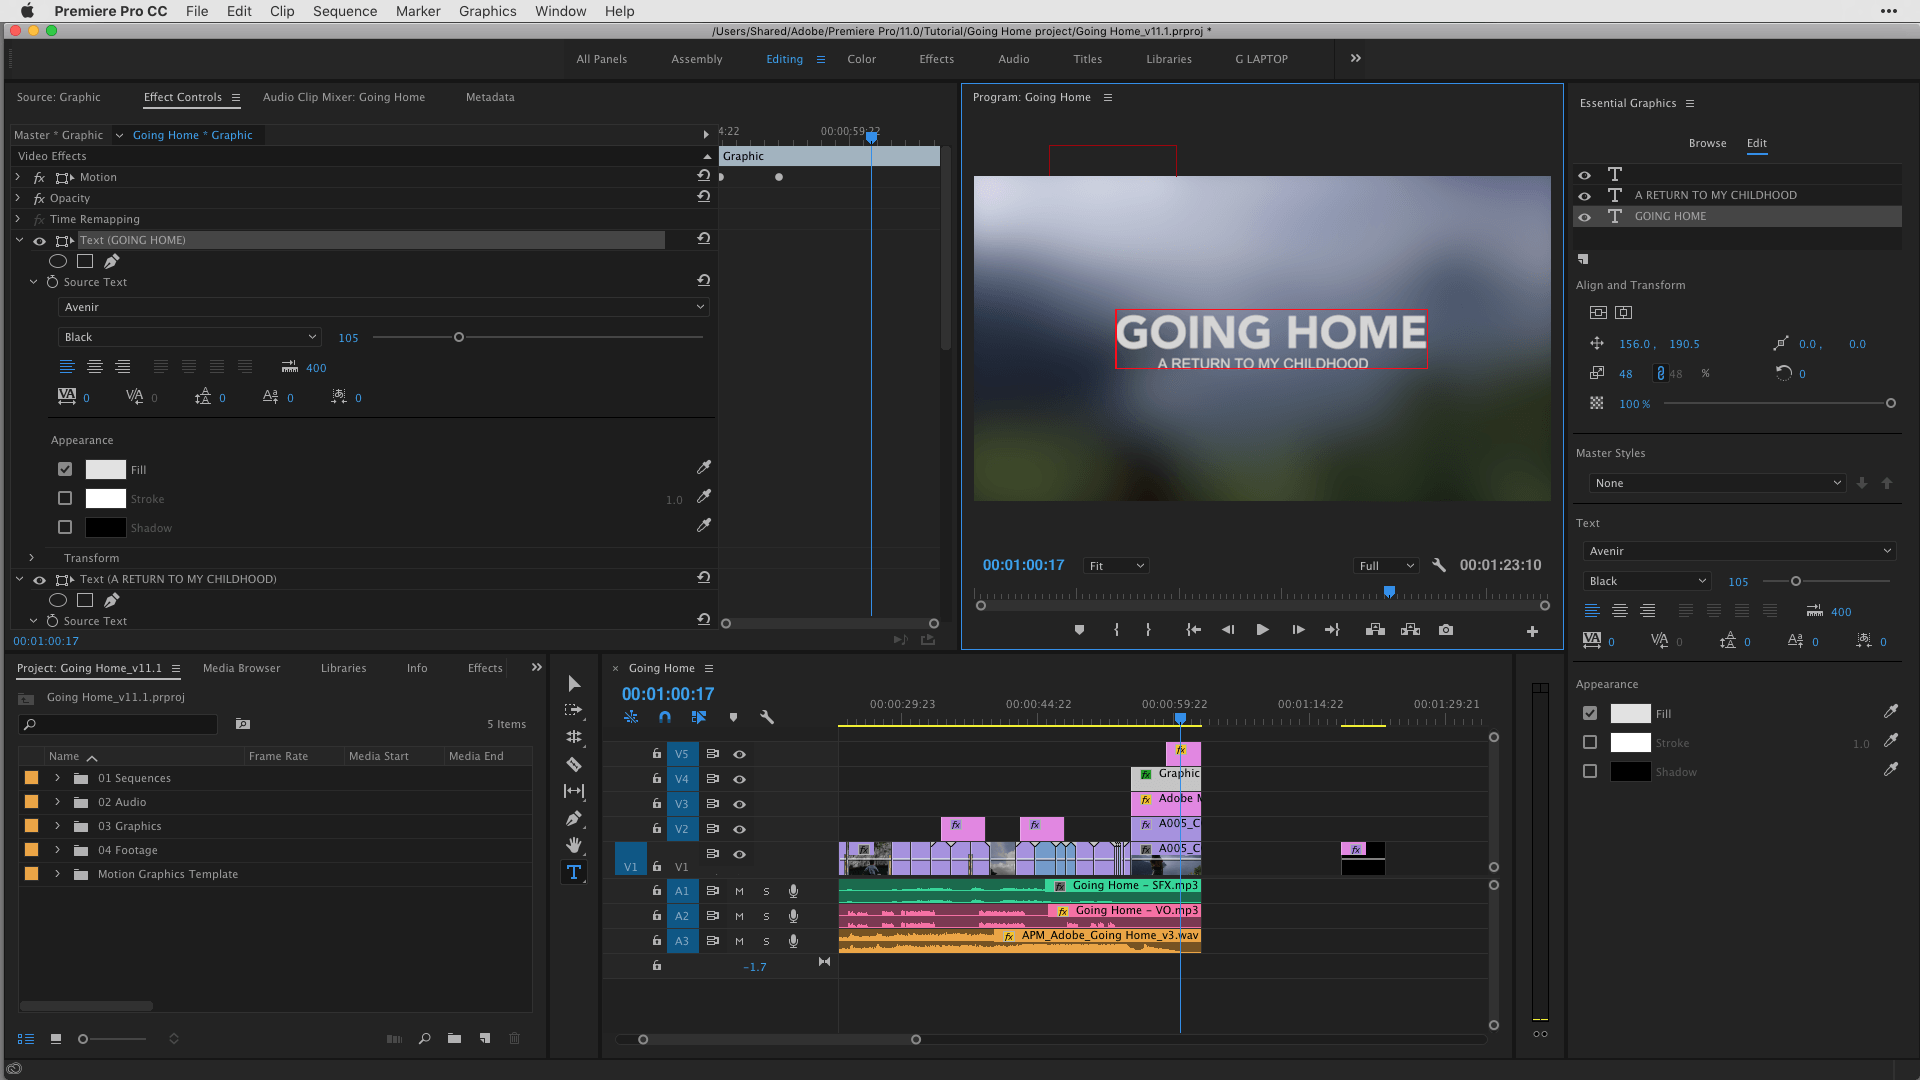
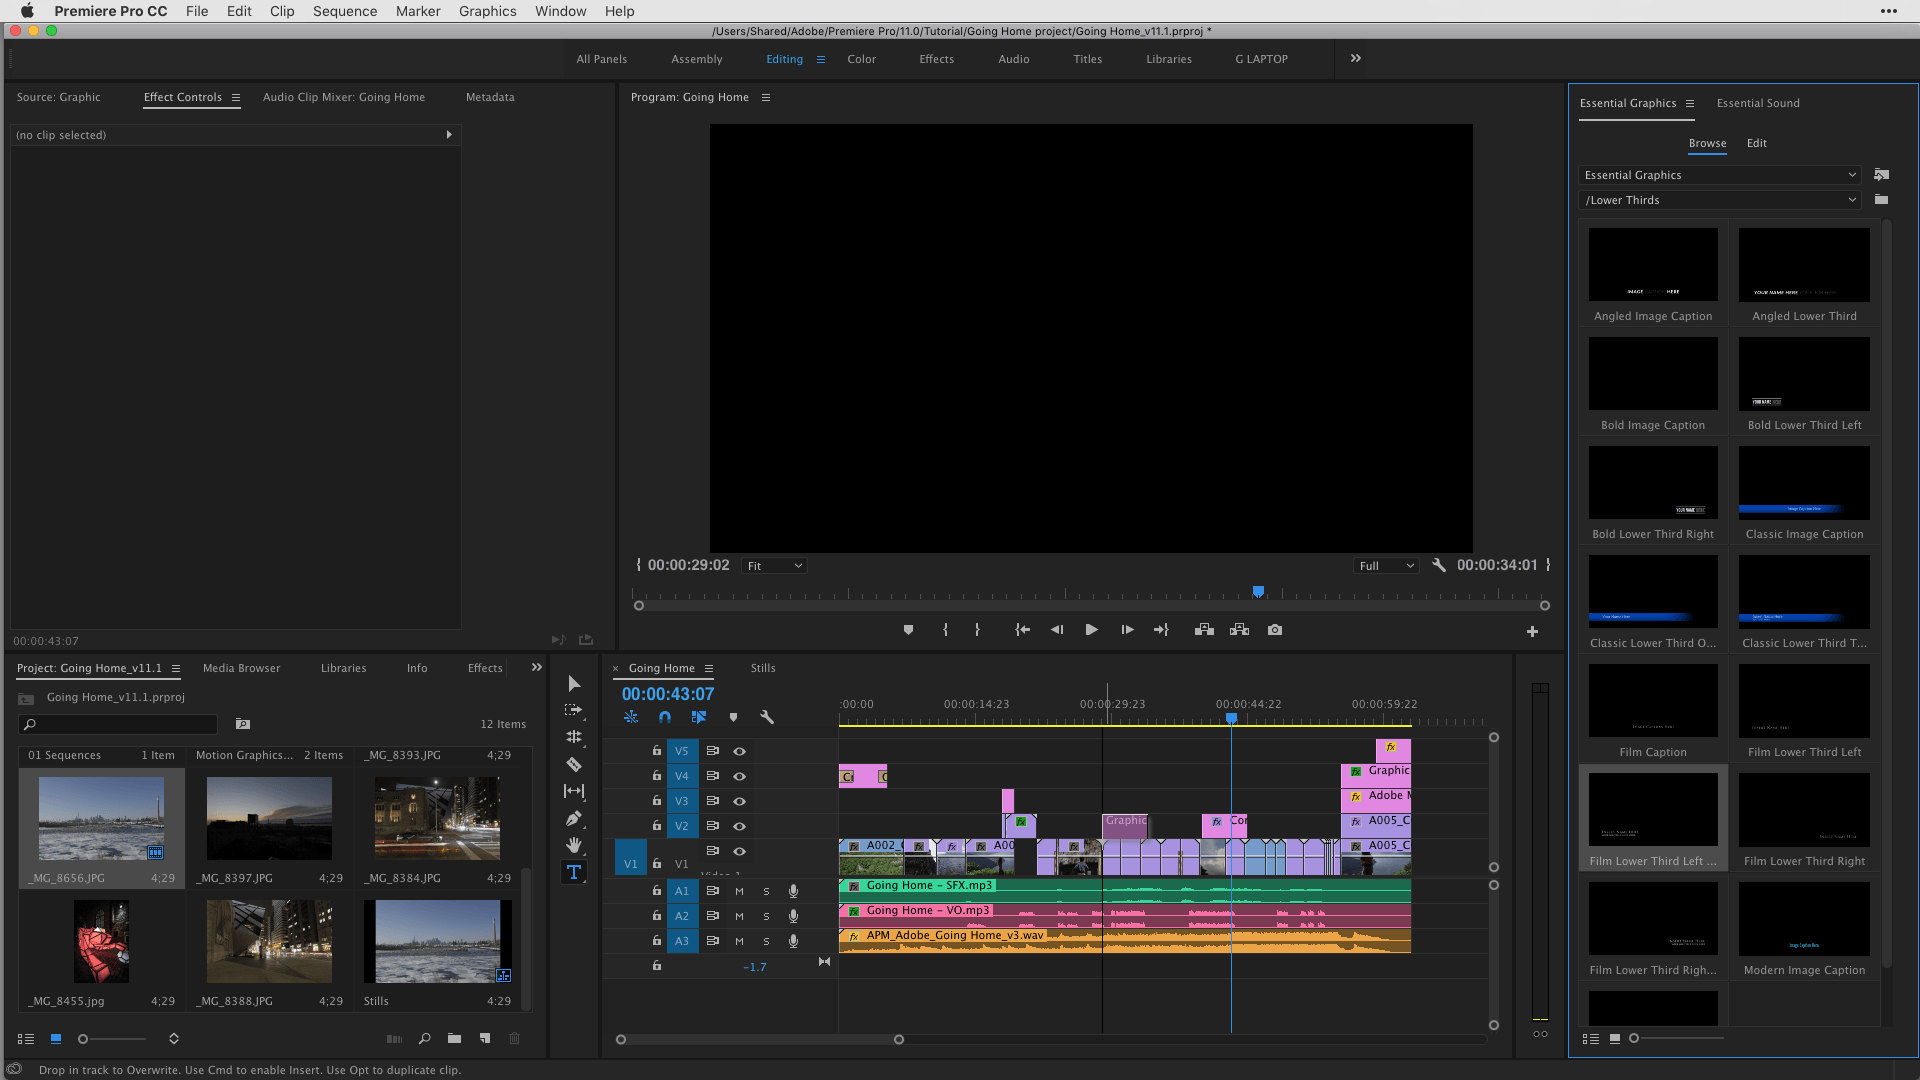
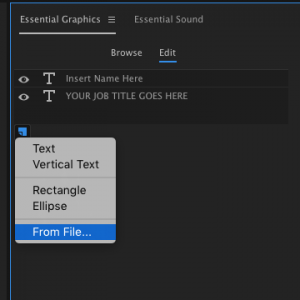
- The Essential Graphics Panel – So yeah, I sort of talked about this in number 4 but the Essential Graphics Panel is big. On one end, it’s a gateway to motion graphic templates amd on another, it allows you to add shapes, additional text and assets to a Title you created right inside of Premiere! In the below example I have a motion graphic title selected in the timeline. It consists of two text layers which I can see in the edit section of the Essential Graphic Panel.
To add to the title I’ll click on the new item button and I’ll choose from file to add a logo from my hard drive.
I added a logo and placed it just above my text dragging it with my selection tool in the Program Monitor. I also scaled it down to 15% under the align and transform properties (you could also do this in the Program Monitor with on screen controls). If the logo was overlapping my text I could always place it to be behind text by dragging it down in Essential Graphics.

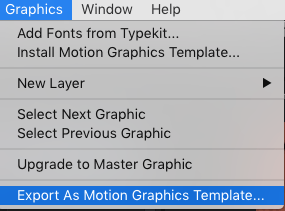
You can also save any Title you make as a Motion Graphics Template or any existing template you modify.
So there you have it; 5 features I love about the April release of Premiere Pro 2017. For more info on Premiere Pro and other editing tips, subscribe to our blog!