Five shortcuts you should map to your Premiere Pro keyboard right this second
by Nick Harauz, Co-founder and Trainer at Creative One Eleven
There’s an old saying about saving money: take care of the pennies, and the dollars will look after themselves. The exact same principle applies to your time in post production – only the pennies are seconds, and the dollars are hours.
How do you look after your seconds in post production, and ultimately, your hours? Keyboard shortcuts. Here are some of the best Premiere Pro shortcuts that you should map to your keyboard, like, right now. If you’re not sure HOW to customize your keyboard in Premiere Pro, scroll to the bottom for a how-to video. You’ll also find a link to my custom Premiere Pro keyboard setup, which is available for download.
Color Labels
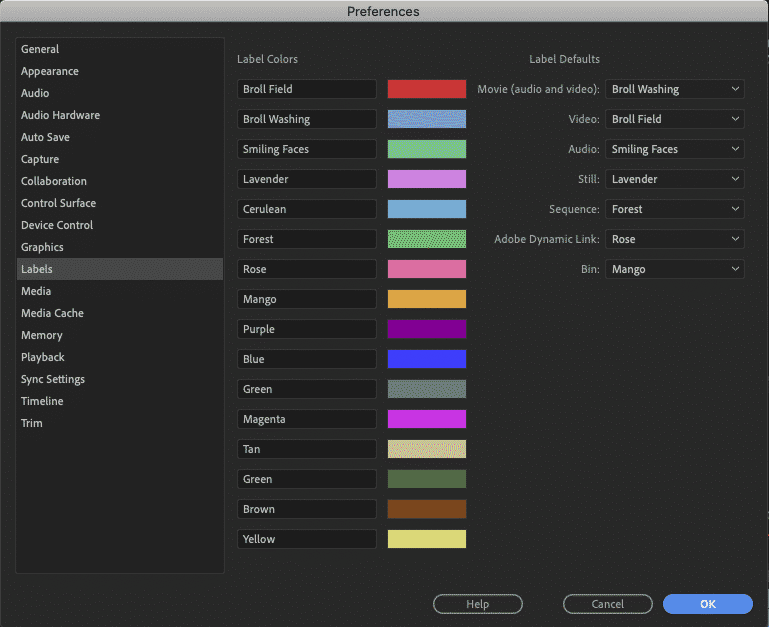
Labels are an essential part of the editing process. They keep you organized and sane throughout post production. Color coded systems make it easier for you to organize your clips and assets and they also make your timelines look really pretty. While part of setting up labels should be done under Premiere’s Preferences (e.g., choosing custom names for label colors and identifying Label Defaults), simply mapping each Label Color to a keyboard can save you so much time.
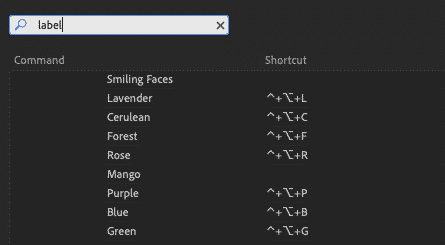
On my keyboard, I have a shortcut set up for my five most used labels under Opt(Alt)+Ctrl+the letter of the color. This makes it so easy to select a series of clips and easily apply the shortcut. This process saves me a few seconds each time I do it. Over a year, it saves me hours.
Track Height Presets
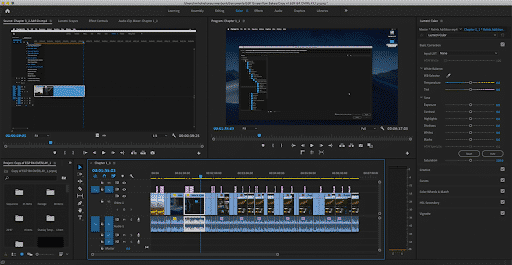
The video editing process involves a constant struggle for real estate in Premiere Pro, especially in the timeline. At one moment, you need to focus on your V1 track having those clips nice and big, and the next – you need to fine tune audio on tracks A3 and A4. You don’t have to use your mouse to constantly resize the height of your video and audio tracks – there’s a keyboard shortcut for that, and the process is simple.
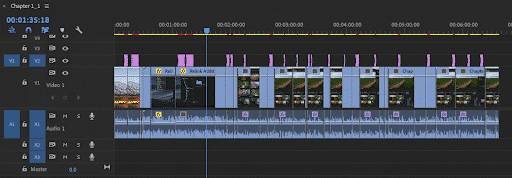
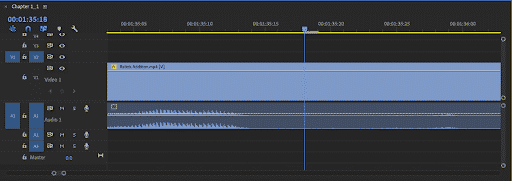
1. Resize your tracks for a specific workflow (e.g., working with titles on V3)
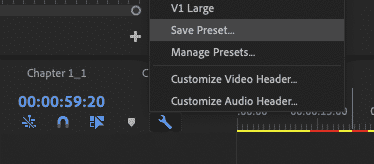
2. Open your timeline display settings (use the wrench icon in the timeline) and save this as a track height preset while choosing a keyboard shortcut to save it to as well.
3. Open your Keyboard Shortcuts under the Premiere Pro menu (Mac) or Edit menu (PC) and map the track height preset to your desired keyboard
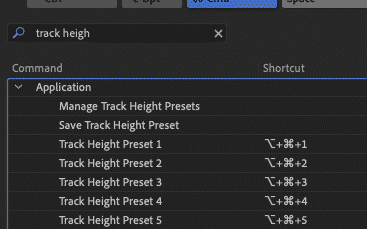
4. Repeat for up to ten track height presets.
Selection Follows Playhead
There’s a handy option that automatically turns on when you switch to specific Workspaces, called Selection Follows Playhead. For instance, when you switch to the Color Workspace, this option allows you to work in the Lumetri Panel ensuring that when you make adjustments, a Lumetri Effect will be added to the clip.
In other workflows, you don’t want this option on. Rather than disabling it from the Sequence menu, map it to a keyboard shortcut.
Zoom to Frame
Zoom to Sequence is one of my favorite shortcuts as it allows you to get an overview of your entire timeline no matter what level you’re zoomed in on. My next favorite is Zoom to Frame, and that isn’t mapped to the keyboard by default. This command allows you to get to the frame level without having to press the = button several times. I have it mapped to Opt(Alt)+\. I choose to use the \ button to make it relatable to Zoom to Sequence, which uses the \ as a shortcut.
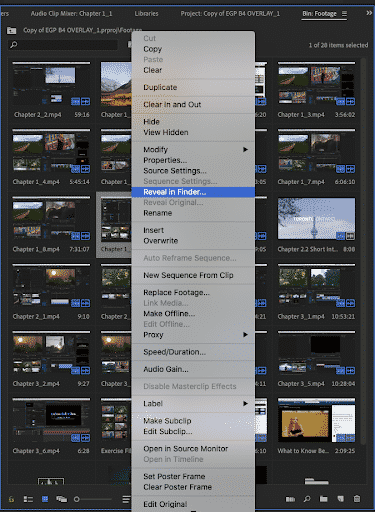
Reveal in Finder (Explorer) and Reveal in Project
So often, I find myself trying to remember where a clip is saved within a specific bin. I also constantly need to reference where assets are stored on my computer or external drive. The quickest way to find these clips is to use Reveal in Project to see assets inside of Premiere, and Reveal in Finder to find the assets on your system. Rather than Ctrl+Clicking every time, it’s time to map this to the keyboard.
I hope this gives you an idea of how much you can do to get Premiere Pro working optimally for your workflow. These are just a few of my favorites, but there are a ton of map-able commands in Premiere Pro that I haven’t mentioned. If you’re interested in my custom Keyboard Shortcut Setup, click here (please note, you’ll still have to save your own track height presets under timeline display setting and link them to the shortcuts to see the full functionality). If you’re not sure how to map shortcuts to your keyboard, watch this short tutorial below.
Happy mapping everyone!
by Nick Harauz